The Cycle Method

Image from blog post

12/8/2015

Now that we are all learning about Ruby it is important to begin to use Enumerable methods. Although there are tons of these, in this blog post I will only be talking about one in particular. That method is Cycle. Cycle is an awesome built in ruby method. Basically it saves us the work of having to write long loops to iterate through each element in an enumerable several times.

We can think of the cycle method as a hula hoop. The value we give cycle tells the us how many times we want the hula hoop to do a full rotation. If we call 2 on cycle, as seen in the example below, we will repeat the elements in the enumerable 2 times, like swinging the hula twice. If we do not give cycle an argument we will end up with an infinite loop on our hands. You can do cool things with cycle. For example if you set a variable equal to an enumerable with cycle called on it, without a block of course, it will return an enumerable. You can then use the .next method to iterate through the enumerable.

You can also use the reverse_each method and call cycle on it to reverse cycle through an argument. This could be very helpful if you needed to implement a block of code on an enumerable forever, but in reverse.

The cycle method is very useful. We could use it to write a program that cycles through chores and assigns them to different individuals throughout the week. We could also use it to loop a set number of times over an array and print out the variables while a program is loading. There are tons of uses for the cycle method. I hope that you guys will get to use this method in the future. I think it will come in handy for me at some point too.


                    >> arr.cycle(2) { |i| puts i }
                        first
                        middle
                        last
                        first
                        middle
                        last

                    >> cycle_enum = arr.cycle
                    => #>Enumerator: ["first", "middle", "last"]:cycle>
                    >> cycle_enum.next
                    => "first" 
                    >> cycle_enum.next
                    => "middle" 
                    >> cycle_enum.next
                    => "last" 
                    >> cycle_enum.next
                    => "first"

                    >> [:first, :middle, :last].reverse_each.cycle(2) { |i| puts i } 
                        last
                        middle
                        first
                        last
                        middle
                        first
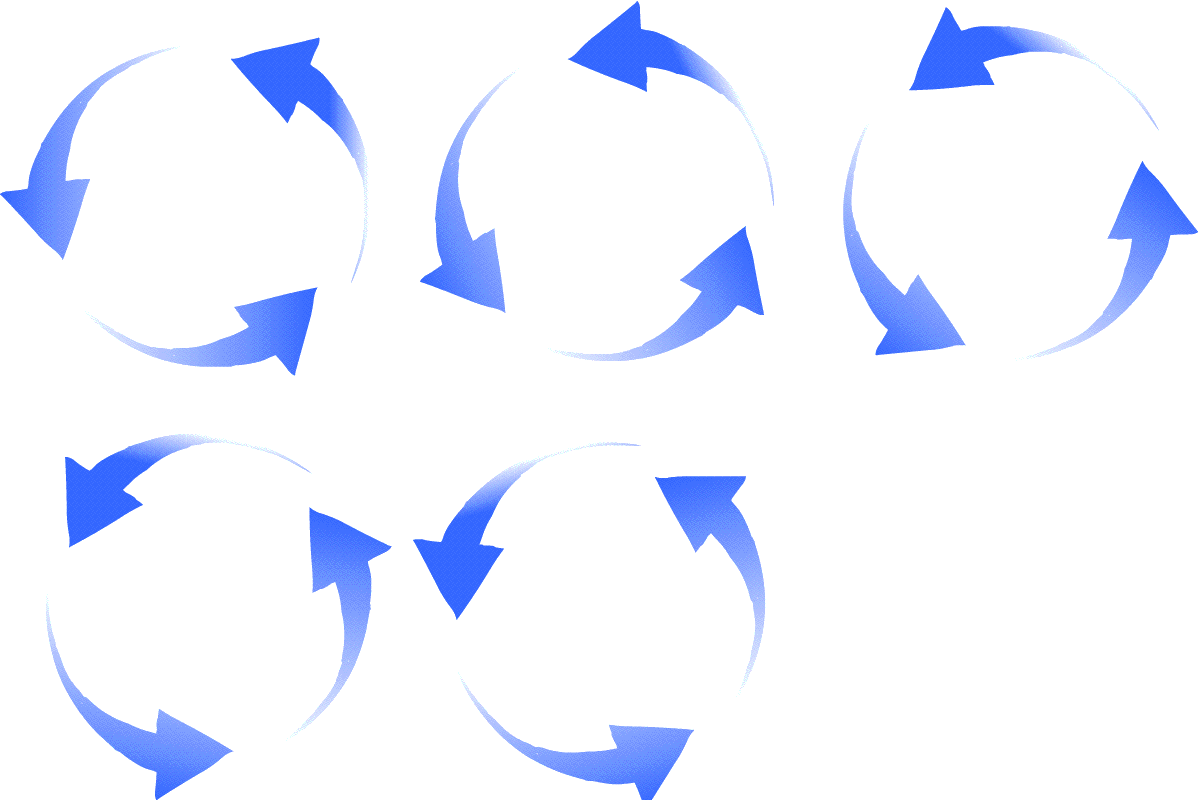
                 

Image from blog post

11/25/2015

Well for starters Margin, Border, and Padding are key:value pairs that are used in CSS, a web design language, to help determine the dimensions of content.

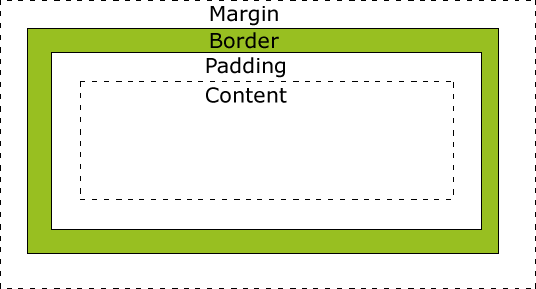
Before I go into the detailed web design description of the difference between Margin, Border, and Padding let me give you an example: Imagine we are moving a very delicate antique vase that our Depression era grandmother gave us. It is her pride and joy. So obviously we want to be very careful with it. The vase itself represents what we call content in CSS, that could be a paragraph, image, heading etc.. The bubble wrap we put around the vase, to keep it from touching the inside of the box, is representative of the Padding key:value pair in CSS. The box itself is what we would call a border in CSS. It is effectively the end of the extension of our content. We can make the border thin or thick just like we can use a thick wooden box or a thin cardboard box. Lastly, we wouldn’t want to put Nana’s vase near any other heavy items in the moving truck because they could fall on it and smash it. The space separating our box from other boxes represents the Margin key:value pair. That’s a very basic explanation of how Margin, Border, and Padding determine the dimensions of and spaces in-between content in CSS.

If you look at the image provided you might notice that it provides a nice visual demonstration of what we were just talking about. A couple things to mention about these key:value pairs in CSS that are a bit more complex and detailed. First, margins in CSS will collapse to the largest margin if they are touching. For example, if we have our paragraph with a margin of 2px and our heading with a margin of 4px and they are touching then the 2px margin dissolves and the 4px one takes precedence. Second, unlike a box we can add margins, borders, and padding to however many sides of the object we like. Let's say we only wanted padding on the bottom and a border on the top for example we could do this by saying “border-top: 2px;” and “padding-bottom: 10px;”. So as you can see with CSS we can specify our dimensions fairly well. Lastly, I just want to mention the border key:value pair is highly customizeable. We can change the style, color, thickness, and even use an image for the border. I hope you now understand the difference between Margin, Border, and Padding. Now go forth and code!